Abstract: In this article, we will see how to
install and configure Microsoft SharePoint Server 2013 on Windows Server
2008 R2 with Step-By-Step guidance
- You already have preconfigured Active Directory Domain Service.
- You already have installed SQL Server 2008 R2.
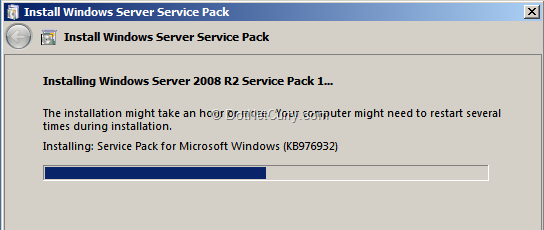
Once you have downloaded the Windows Server 2008 R2 Service Pack 1, start installing the same on your server which has Windows Server 2008 R2 -
Once you have finished the installation of Service Pack 1, reboot your machine. Now open SharePoint Server 2013 setup folder and click on the Splash file in your setup, which will look similar to the following -

Once the Splash screen opens, you will find an "Install Software prerequisites" link. Clicking on that link brings up a list of all software to be installed as prerequisites -

Click on "Next" button and accept the agreement. This will start installing the prerequisites. You will get the following confirmation screen once you finish installing all the prerequisites -
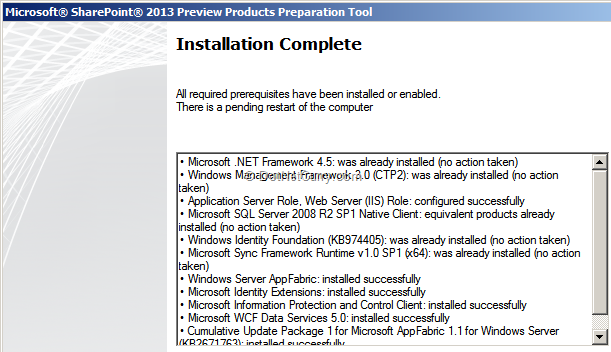
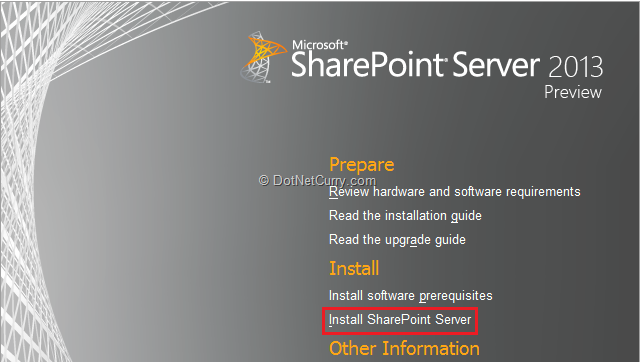
Now restart your server. After this, go to the Installation folder of SharePoint Server 2013 and rerun the Splash screen. Click on "Install SharePoint Server" as shown below -
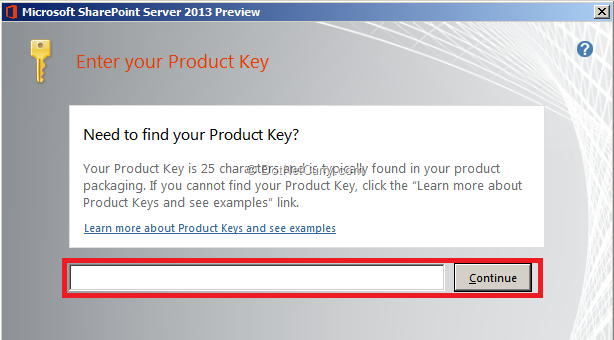
The installer now asks you enter the Product key. Enter the product key and click on continue as shown below -
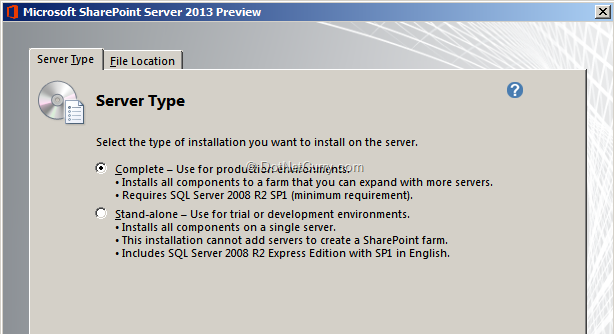
Now accept the agreement and go to the next step. Here the setup asks you if you want to do a -
1. Complete Installation.
2. Stand-alone Installation.
I have chosen a "Complete" installation. Now click on "Install" button which will start the installation.
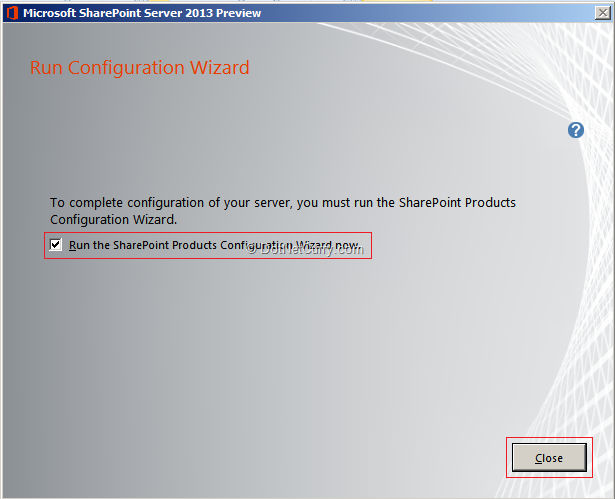
Once the installation is complete, you will now need to run the SharePoint Products Configuration Wizard. Make sure you have the check box "Run the SharePoint Products Configuration Wizard now" checked and click on the "Close" button as shown below -
As soon as you click on "Close" button, SharePoint Product configuration wizard will show the welcome page as shown below -

Click on the "Next" button and a warning dialog box appears as shown below -
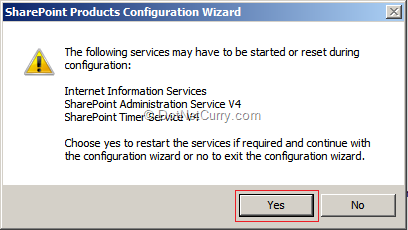
Click on "Yes" again.
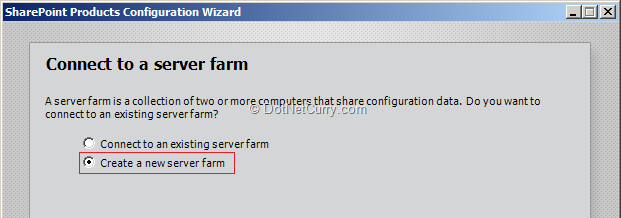
Now it is asking you to "Connect to an existing Server farm" or "Create a new server farm". Let's make a choice of "Create a new server farm" and click Next as shown below -
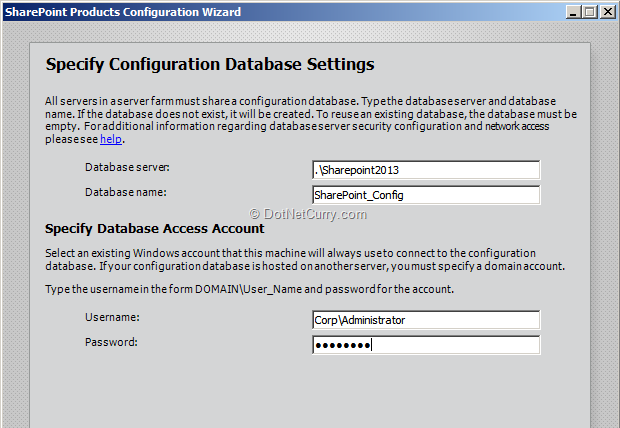
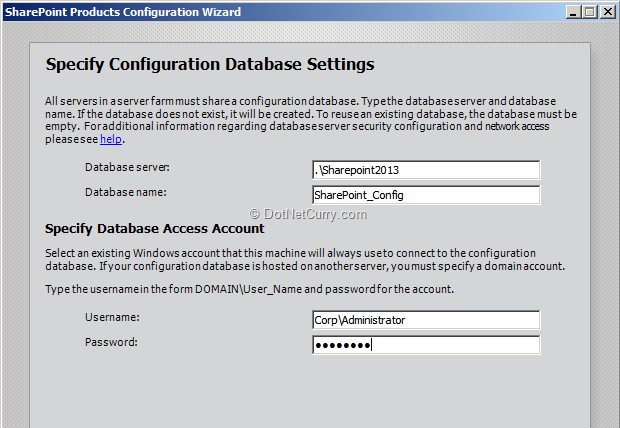
The Wizard will ask for the database server name and it will provide the default configuration database name. It will also ask you to specify the database access account. Provide the appropriate information by keeping the database name default "SharePoint_Config" as shown below -
Click on the "Next" button. If SQL Server 2008 SP1 is not installed, you will see a dialog box with an error -
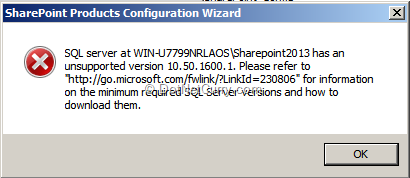
To resolve this error, we need to install "SQL Server 2008 R2 SP1". To download SP1, use the following link -
http://www.microsoft.com/en-us/download/details.aspx?displaylang=en&id=26727
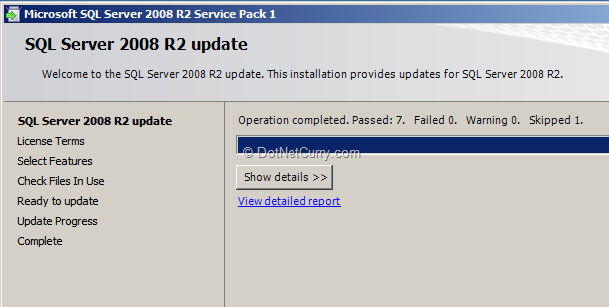
After downloading SP1, start the installation process.
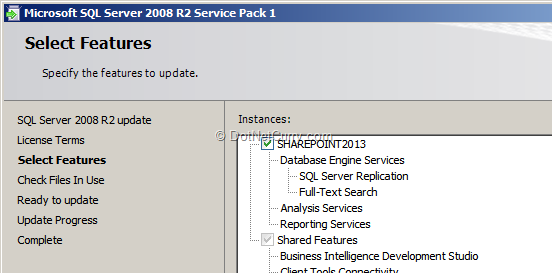
Click on the "Next" button and accept the agreement. I have already made a choice of the instance on which I would like to apply SP1 -
In the next step, the wizard will check whether files are in use. Once the installation is completed, click on the "Next" button which brings up a complete "Summary". Let's click on "Update" button and start the update process.
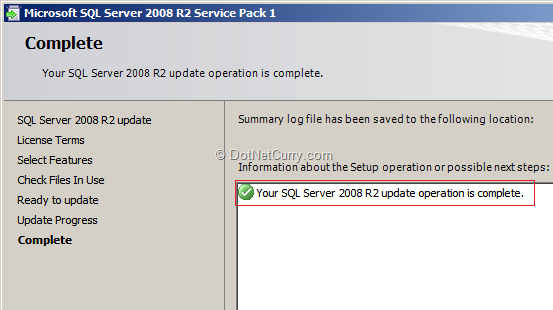
Once the installation is successful, you will see the following message -
Let's start the "SharePoint 2013 Products Configuration Wizard" and run the same with the following specifications -
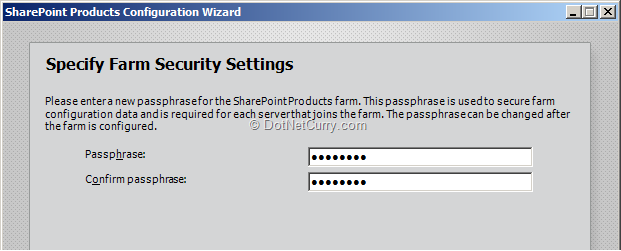
In our next step, we will have to specify farm security. Enter the password and click on "Button" as shown below -
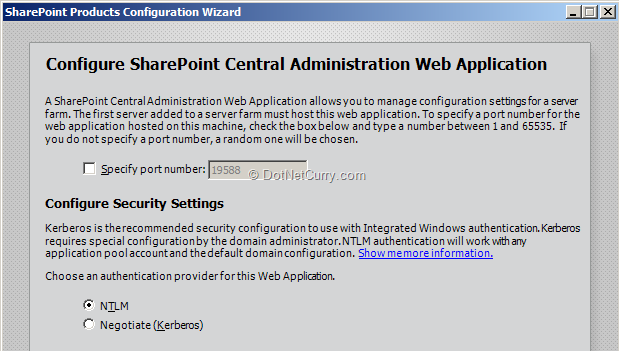
Now provide the configuration settings for "SharePoint Central Administration Web Application" as shown below - [I am using the default settings]
The next step shows details of our configuration which we did so far -
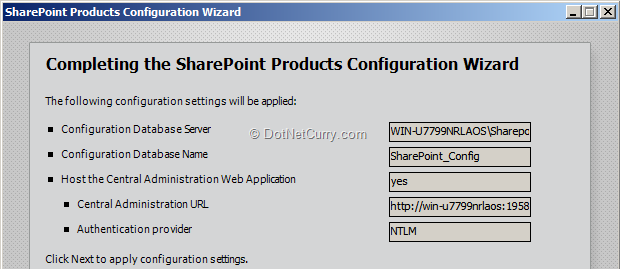
Now click on "Next" button to apply the configuration setting. Once the configuration is completed, your will get a message as shown below -
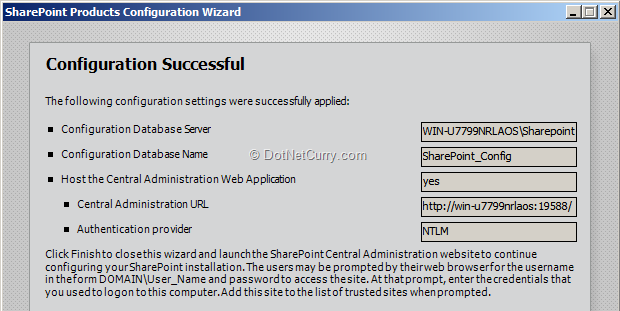
Click on "Finish" button and it will start the SharePoint Central Administration website as shown below -

Configure SharePoint 2013 Farm
Now it's time to configure our SharePoint 2013 Farm. Start the "Farm configuring Wizard" as shown below -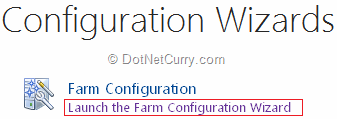
Launch the Farm Configuration Wizard and click on "Start the Wizard" button. The first step is to configure the services needed to use in the farm. Enter the User Name and Password. Also make the choice of services which you want include, as shown below, and click on "Next" button -

The second step is to create a site collection. I am planning to create a site collection with "Business Intelligence" template as shown below -

Now click on the "OK" button. That's it! The configuration wizard will complete by creating a site. Click on "Finish" button to complete the wizard.
Source: http://www.dotnetcurry.com/sharepoint/851/install-sharepoint-server-farm-windows-server-2008
Tidak ada komentar:
Posting Komentar